One of Hottest for Automotive Fixture - Fixture resin – Meiln
One of Hottest for Automotive Fixture - Fixture resin – Meiln Detail:
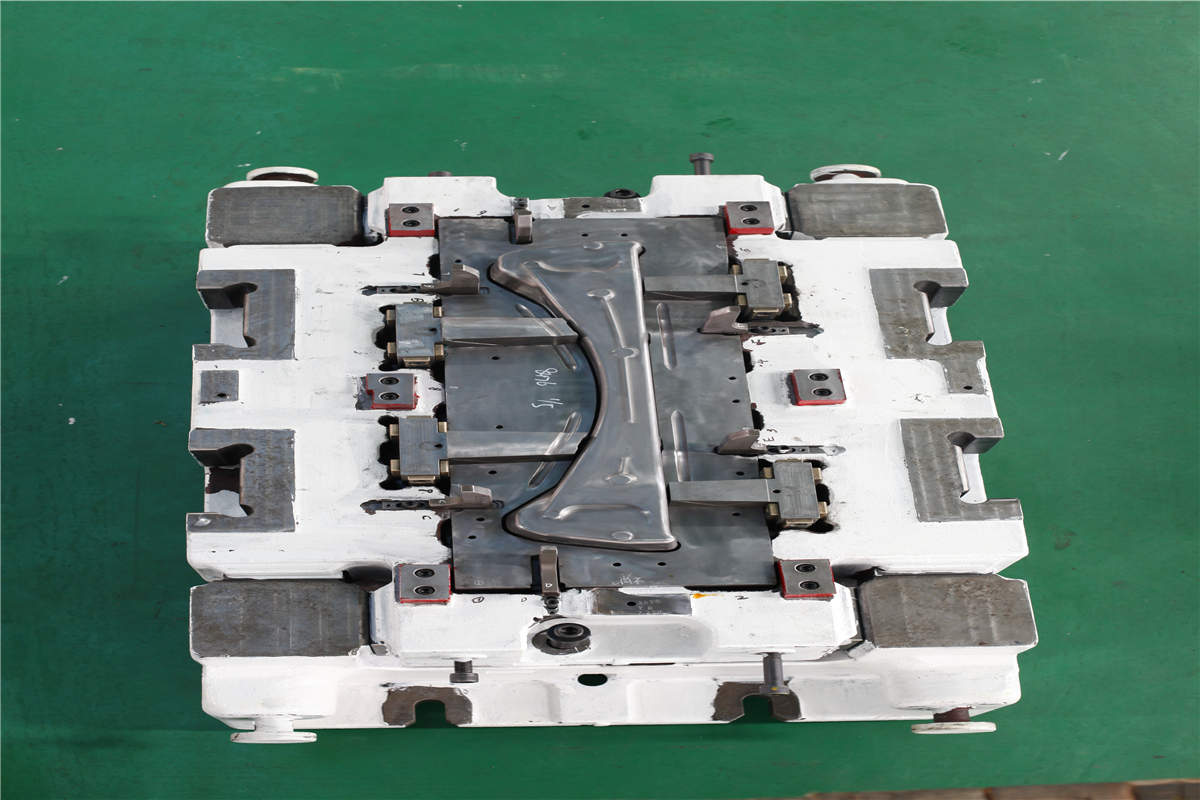
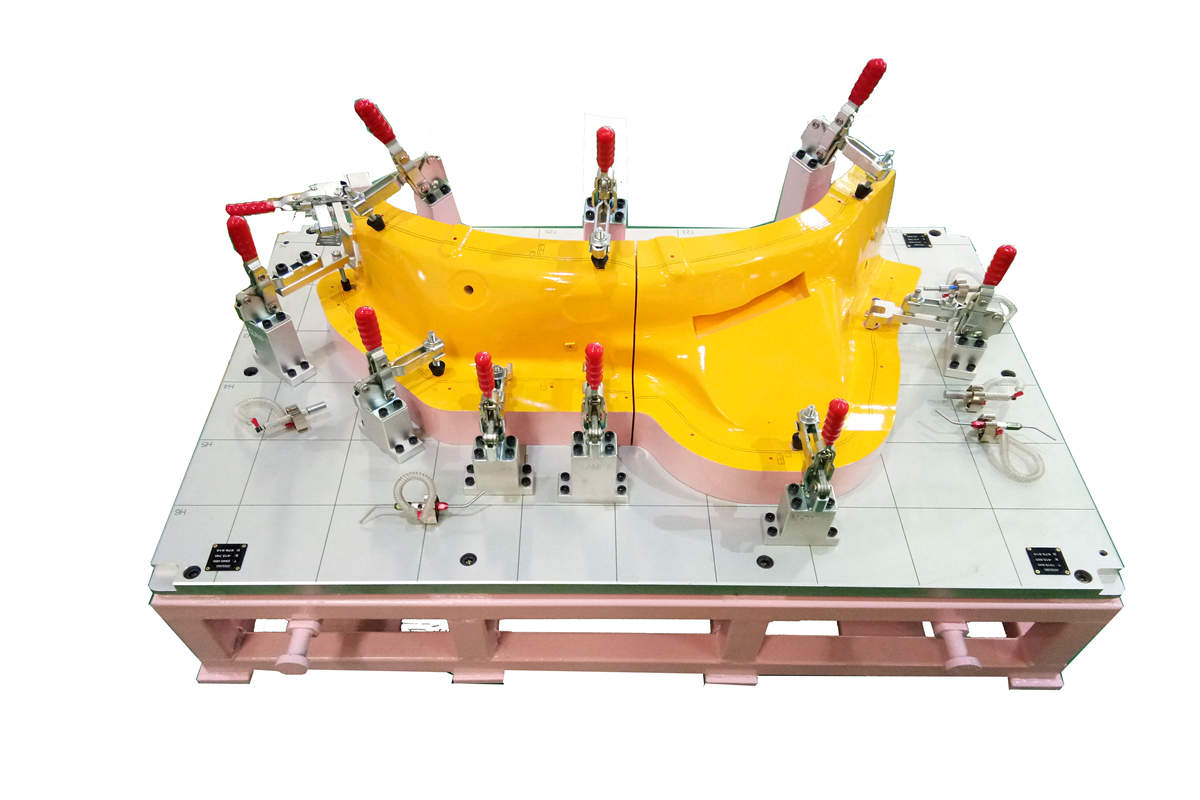
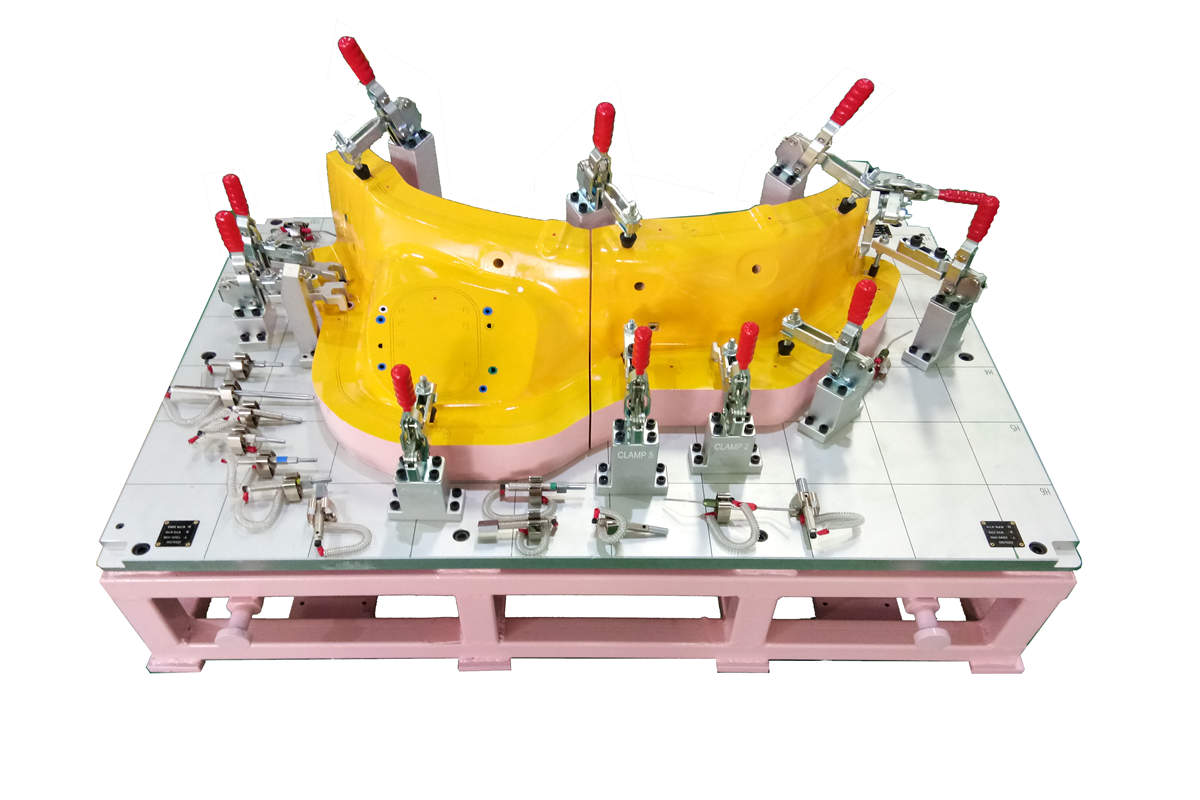
Part Name: ZB GEPAECKRAUMWANNE MITTE
Cavity: one part out
Material: Base Plate is made of Aluminum and Main body is made of Resin
Treatment: Metal area =Anodised
Resin area =painted
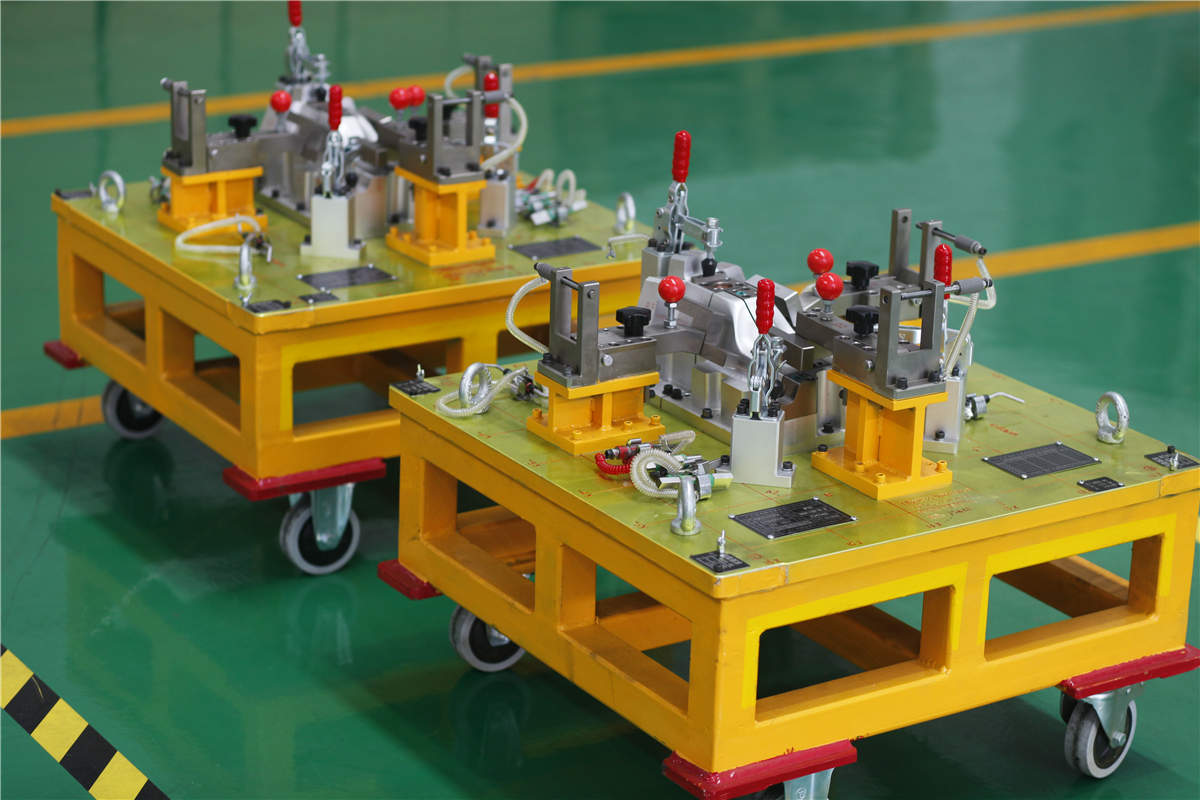
Lifting Method of Fixture: trolley
Application: The fixture applicated to automotive stamping part measurement
Lead Time: one month
Background
Regarding the lifting method of fixture, we consider all fixtures require an easy method of lifting, whether this by hand and adding handles or for larger fixtures ensuring that they are on a trolley to ensure easy movement. Some fixtures which are overweight and due to the size they can’t be manually lifted. These items require lifting aids to be added to make users friendly.
As to fixture material, this fixture is made of resin, which is not easy to deform even under the influence of environment, and is conducive to dimensional stability.
There are three alignment plates sat on fixture corners, which have come in with correct ‘X,Y,Z’ co-ordinates making it easy to accurately measure the part in car line. These plates are meant to be the datum of the fixture, these being correct means correct measurements could be sent to customer.
Function of the fixture
1. Inspect the hole position and hole size tolerance of the part.
2. Inspect the relating surface profile of the part.
3. Inspect the relating trim of the part.
4. Inspect the other relating dimensions of the part.
Fixture Maintenance
1. Apply for anti-rusty oil on the locating pins after using each time
2. Put the gauge in a specified area and cover the dust cover.
3. Not allowed for any heavy things to hit or touch or extrusion. Otherwise, the gauge precision will be affected.
4. Not allowed to disassemble the gauge. Otherwise, will be badly affected with the gauge precision.
If you have interest or want to know more about Resin checking fixture, please do not hesitate to contact us. We are pleased to discuss with you.
Product detail pictures:

Related Product Guide:
Our company insists all along the quality policy of "product quality is base of enterprise survival; customer satisfaction is the staring point and ending of an enterprise; persistent improvement is eternal pursuit of staff" and the consistent purpose of "reputation first, customer first" for One of Hottest for Automotive Fixture - Fixture resin – Meiln , The product will supply to all over the world, such as: Madrid, Rome, Bulgaria, By integrating manufacturing with foreign trade sectors, we can provide total customer solutions by guaranteeing the delivery of right products to the right place at the right time, which is supported by our abundant experiences, powerful production capability, consistent quality, diversified products and the control of the industry trend as well as our maturity before and after sales services. We'd like to share our ideas with you and welcome your comments and questions.
The supplier cooperation attitude is very good, encountered various problems, always willing to cooperate with us, to us as the real God.
