Free sample for Checking Gauge - fixture check pins – Meiln
Free sample for Checking Gauge - fixture check pins – Meiln Detail:
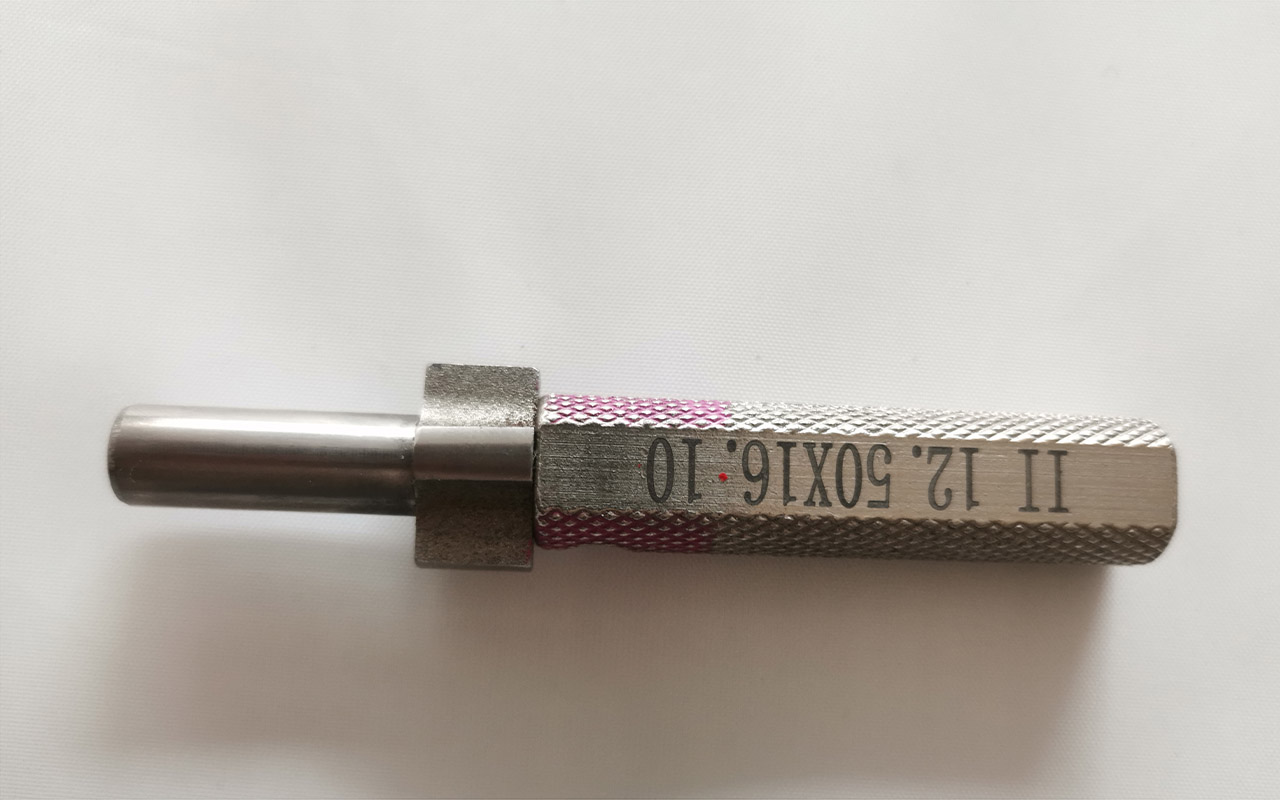
Fixture secondary datum pin is used for locating part.
Steel material and surface treatment with plating.
Fixture secondary datum pin is used for locating part. Steel material and surface treatment with plating.
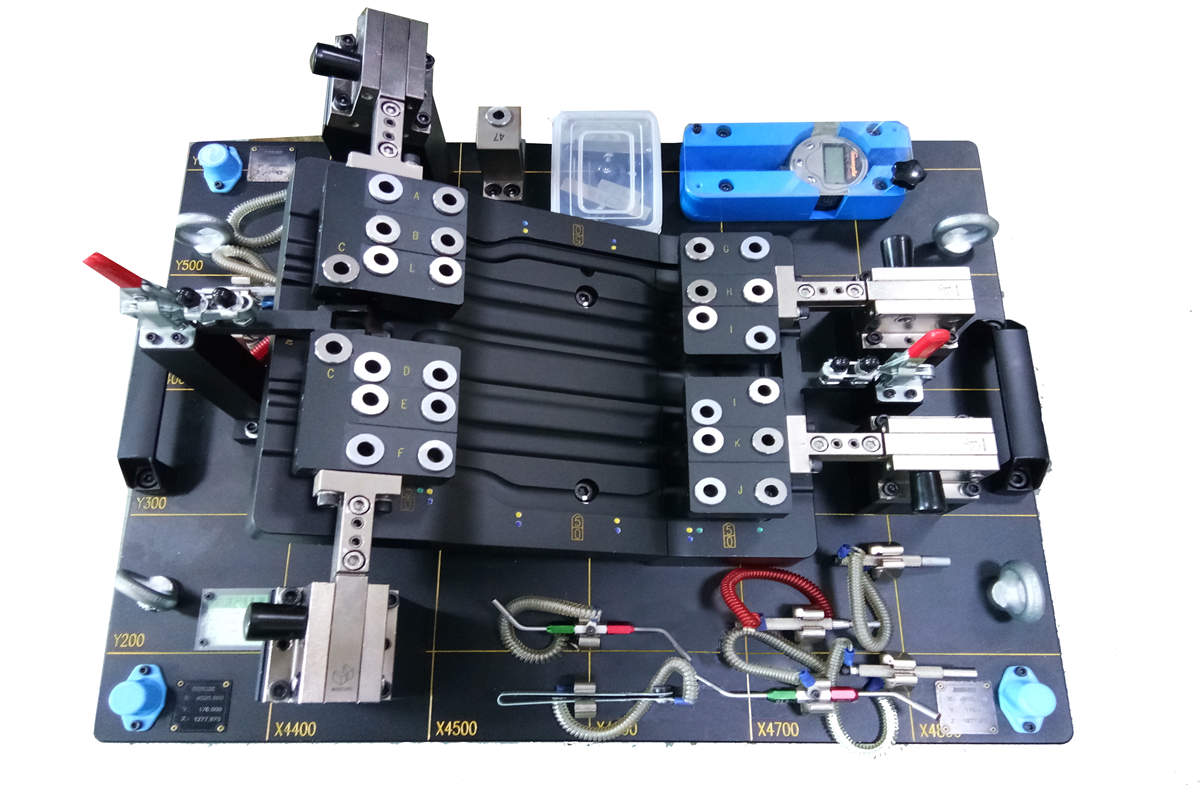
The part must be positioned before clamping and testing can begin. Locating pins are used to position the part precisely on the tool. Location of locator pins determined according to part drawings RPS system usually set two locator holes per part).
The locating pin is composed of three parts guide, locating and handle. It ensures that the guide part of the pin can enter and exit freely in the locating hole. Marking of locating pins: mark pin number and corresponding RPS point name in handle groove.
According to the RPS characteristics of the part the locating pin is correspondingly set as a cone pin (Al k, A2 k or column pin (A1z, A 2 z)
In the locating holes, guide bushings must be installed and bonded to the tester body in order to ensure accurate locating of the locating pin. According to the different requirements of the shape of the hole the structure of the locating pin and the corresponding guide sleeve can be divided into anti-rotation structure and non-rotation structure. Each dowel is configured with a 2mm wire rope and secured to the appropriate part of the specimen body.
Pin placement: The locating pin and the detecting pin shall be clamped in the corresponding spring clip on the measuring tool body after use in inspection: In assembly drawings, there must be a clear statement of pin and hole.
Product detail pictures:


Related Product Guide:
With this motto in mind, we've turn into one of quite possibly the most technologically innovative, cost-efficient, and price-competitive manufacturers for Free sample for Checking Gauge - fixture check pins – Meiln , The product will supply to all over the world, such as: Oslo, Chile, America, The company has numbers of foreign trade platforms, which are Alibaba,Globalsources,Global Market,Made-in-china. "XinGuangYang" HID brand products sell very well in Europe, America, Middle East and other regions more than 30 countries.
The factory can meet continuously developing economic and market needs, so that their products are widely recognized and trusted, and that's why we chose this company.


